
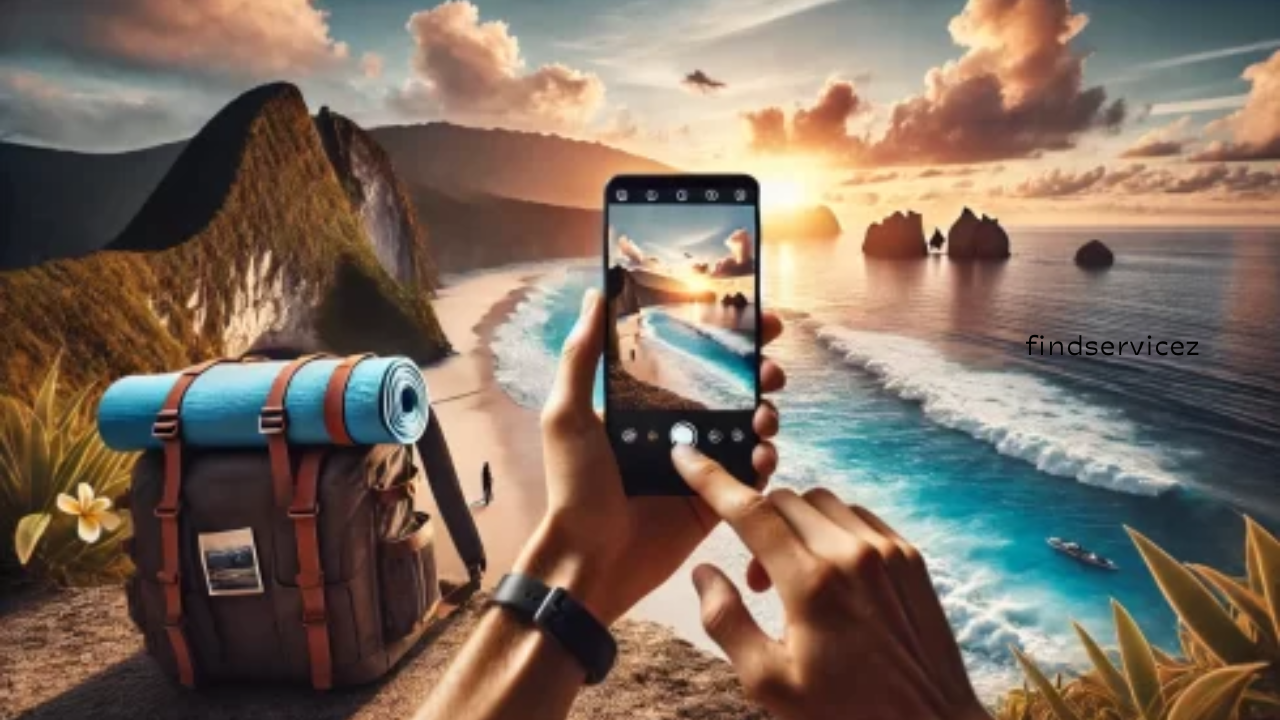
In the age of social media and digital memories, taking stunning travel photos has become a priority for many travelers. Gone are the days when you needed expensive DSLR cameras to capture breathtaking landscapes or street photography. Today, smartphone cameras have evolved to offer professional-quality shots with just a few taps. With the right techniques, you can create visually stunning images that capture the essence of your travels. Here’s a comprehensive guide on how to take stunning travel photos with your phone.
1. Master Your Smartphone Camera
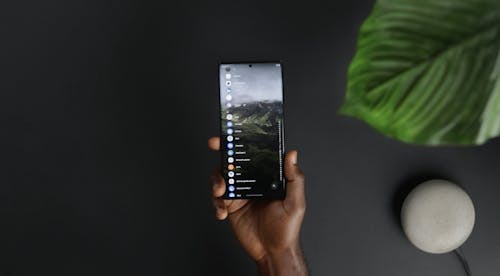
Before you start snapping photos, take time to understand your phone’s camera capabilities. Many smartphones come equipped with advanced features like portrait mode, night mode, and manual settings that allow you to control exposure, ISO, and shutter speed. Familiarize yourself with these features to optimize your shots.
Key Features to Explore:
- Gridlines – Enable gridlines to use the rule of thirds for better composition.
- HDR Mode – Helps balance light and shadows for more dynamic shots.
- Pro Mode – Adjust settings like ISO and shutter speed manually for creative control.
- Night Mode – Captures better low-light shots without excessive noise.
- Portrait Mode – Creates a beautiful bokeh effect, blurring the background and keeping the subject sharp.
2. Focus on Composition
Composition is the foundation of a great photo. Implement these techniques to create well-balanced, visually pleasing images:
Rule of Thirds
Divide your frame into nine equal sections using the gridlines on your phone. Position key subjects at the intersections for a naturally balanced look.
Leading Lines
Look for natural lines—such as roads, bridges, rivers, or pathways—that lead the viewer’s eye into the frame and toward the main subject.
Framing
Use natural elements like doorways, windows, trees, or arches to frame your subject. This technique adds depth and draws attention to the focal point.
Symmetry and Patterns
Capture symmetrical scenes, reflections, or repetitive patterns for a visually satisfying image.
Negative Space
Leave empty areas in the frame to make the subject stand out more dramatically.
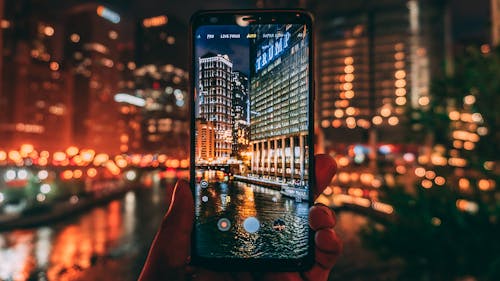
3. Optimize Lighting
Lighting is everything in photography. The best travel photos leverage natural light effectively.
Golden Hour
The best time to shoot is during the golden hour—just after sunrise and before sunset—when the light is soft and warm, reducing harsh shadows and making colors pop.
Avoid Harsh Midday Sun
Midday light is strong and creates unflattering shadows. If shooting during the day, find shaded areas or use diffused lighting for better results.
Use Artificial Light Creatively
If you’re shooting at night or indoors, utilize available artificial lights like street lamps, neon signs, or candles to create a moody atmosphere.
4. Capture the Local Culture and Details
Travel photography isn’t just about landscapes; capturing the essence of a place through its people, food, and daily life makes for compelling storytelling.
Portraits
Politely ask locals if you can take their photo. Candid shots of people engaged in daily activities tell a richer story.
Food Photography
Shoot food from a top-down perspective or at an angle, ensuring good lighting. Avoid using flash as it can create harsh reflections.
Street Photography
Capture spontaneous moments of daily life that reflect the authenticity of the destination.
5. Edit Like a Pro
Editing can elevate your travel photos from good to outstanding. Use mobile editing apps to enhance colors, adjust exposure, and refine composition.
Best Editing Apps:
- Adobe Lightroom Mobile – Great for detailed color correction and exposure adjustments.
- Snapseed – Offers powerful tools like selective editing and healing features.
- VSCO – Provides stylish filters and easy-to-use editing tools.
- TouchRetouch – Helps remove unwanted objects from your photos.
Basic Editing Steps:
- Adjust brightness, contrast, and sharpness to enhance clarity.
- Crop or straighten the image to improve composition.
- Apply filters sparingly to maintain a natural look.
- Use selective adjustments to highlight specific areas of the photo.
6. Use Accessories for Better Shots
Even though your smartphone camera is powerful, certain accessories can enhance your travel photography experience.
Essential Accessories:
- Tripod – Helps stabilize shots for better low-light or long-exposure photography.
- Clip-on Lenses – Wide-angle, macro, and telephoto lenses expand your phone’s capabilities.
- Gimbal Stabilizer – Keeps videos smooth and professional-looking.
- Portable LED Light – Provides extra illumination in low-light conditions.
7. Experiment with Different Perspectives
Avoid taking standard eye-level shots. Experiment with angles and perspectives to make your photos stand out.

Unique Angles:
- Low-Angle Shots – Makes buildings and landscapes appear grander.
- High-Angle Shots – Creates a bird’s-eye view, perfect for cityscapes and markets.
- Reflection Shots – Utilize puddles, glass, or mirrors for creative effects.
- Silhouettes – Shoot against bright backdrops during sunset for dramatic silhouettes.
8. Keep Your Lens Clean
Traveling exposes your phone camera lens to dust, dirt, and smudges. Regularly clean your lens with a microfiber cloth to ensure sharp and clear photos.
9. Take Multiple Shots
Don’t settle for just one shot—take multiple photos from different angles and perspectives. This increases your chances of capturing the perfect image.
10. Practice and Have Fun!
The more you practice, the better you’ll become at capturing stunning travel photos. Enjoy the process and experiment with new techniques to develop your unique photography style.
With the right techniques, composition, and post-processing, you can capture stunning travel photos with your smartphone. Whether you’re exploring bustling city streets, serene landscapes, or cultural landmarks, these tips will help you create visually captivating memories. Happy shooting!