
A remote start system is a convenient feature that allows you to start your car from a distance, ensuring it’s warmed up in winter or cooled down in summer before you get inside. While professional installation is available, installing a remote start system yourself can save you money and provide a satisfying DIY experience. This guide will take you through the step-by-step process of installing a remote start system in your car.
Tools and Materials Needed
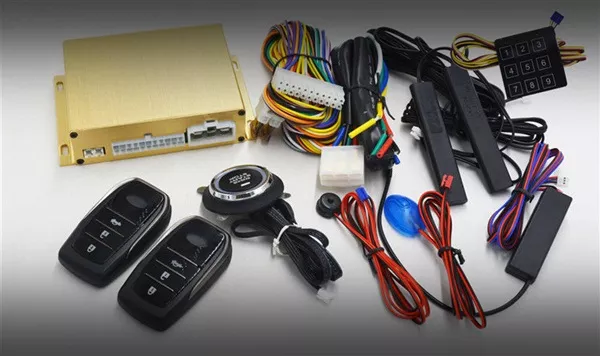
Before starting, gather the following tools and materials:
- Remote start system kit
- Vehicle wiring diagram
- Screwdrivers (Phillips and flathead)
- Wire strippers and cutters
- Soldering iron or wire connectors
- Electrical tape or heat shrink tubing
- Multimeter
- Zip ties
- Safety gloves and glasses

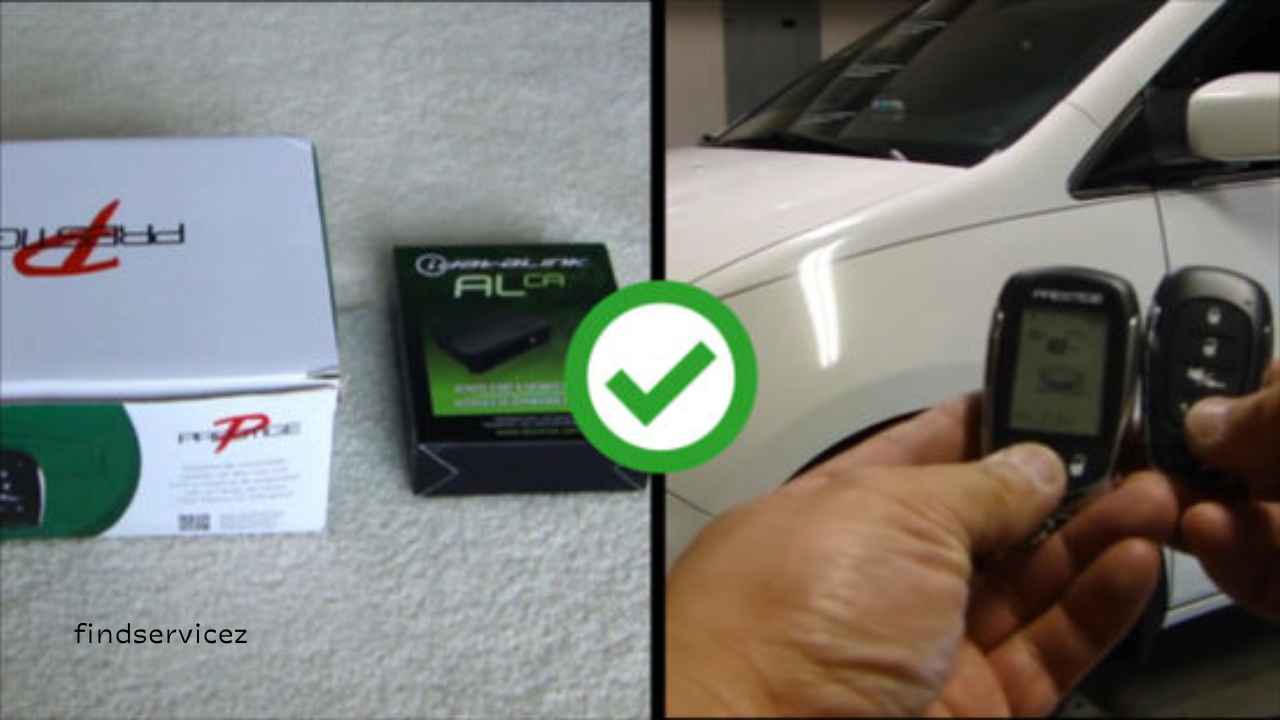
Step 1: Choose the Right Remote Start System
There are different types of remote start systems available. Some come with additional features like keyless entry, trunk release, or smartphone control. Ensure the system you select is compatible with your car’s make, model, and year. Consulting your vehicle’s manual or the manufacturer’s website can help with compatibility checks.
Step 2: Locate the Necessary Wires in Your Car
To install a remote start system, you need to identify and connect the correct wires in your vehicle. The essential wires include:
- Power wire: Supplies voltage to the remote starter.
- Ignition wire: Sends power to the ignition system.
- Starter wire: Engages the starter motor.
- Accessory wire: Controls functions like heating or air conditioning.
- Brake wire: Ensures the vehicle cannot be remotely started while in motion.
- Tachometer wire: Monitors engine speed for safe remote starts.
- Parking light wire: Activates lights when the remote start is used.
Use a multimeter to verify each wire before making any connections.
Step 3: Disconnect the Battery
To avoid electrical shocks and prevent damage to your car’s electrical system, disconnect the negative battery terminal before starting the installation.
Step 4: Connect the Remote Start Module
The remote start module is the central unit of the system. Follow these steps to connect it properly:
- Mount the module: Place the module in a secure location, such as under the dashboard or steering column.
- Connect the power wire: Splice the power wire from the module into the vehicle’s power wire.
- Connect the ignition wire: Attach the ignition wire from the module to the car’s ignition wire.
- Connect the starter wire: Link the starter wire to the vehicle’s starter wire.
- Connect the accessory wire: Attach the accessory wire to the appropriate wire in the vehicle.
- Secure the connections: Use soldering, crimp connectors, or heat shrink tubing to ensure solid electrical connections.
Step 5: Install the Bypass Module (If Required)
Many modern vehicles have an anti-theft system that requires a bypass module to allow remote starting. Install the bypass module according to the manufacturer’s instructions, ensuring it is correctly programmed for your vehicle.
Step 6: Connect the Remote Start System’s Safety Features
For safety, the remote start system includes features such as the brake switch and hood switch:
- Brake wire connection: Connect the brake wire to ensure the car stops when the brake pedal is pressed.
- Hood switch installation: This prevents the engine from starting remotely when the hood is open, avoiding potential injuries.
- Tachometer wire connection: Some systems require a tachometer wire connection to monitor engine speed.
Step 7: Test the System
Before finalizing the installation, conduct a thorough test:
- Reconnect the battery: Reattach the negative terminal.
- Test key start: Ensure the car starts and runs normally with the key.
- Test remote start: Activate the remote start function and check if the car starts.
- Check safety features: Press the brake pedal or open the hood to ensure the engine shuts off.
- Verify additional functions: Test features like keyless entry, trunk release, and parking lights.

Step 8: Secure and Organize the Wiring
Once testing is complete, tidy up the wiring to prevent interference with vehicle operation:
- Bundle excess wires using zip ties.
- Ensure no wires are left hanging.
- Secure the remote start module in place.
Step 9: Reassemble the Dashboard
If you had to remove dashboard panels during installation, securely reattach them. Make sure everything fits properly and that there are no loose components.
Installing a remote start system in your car is a complex but rewarding project. By following this guide carefully, you can enhance your vehicle’s convenience and functionality. If you encounter any issues, consult your remote start kit’s manual or seek professional assistance. Enjoy the ease of starting your car remotely and staying comfortable in any weather!